Help
Add Data
Table of Contents
Introduction
Data organization
Each measurement is assigned to an athlete and training session. A training session is assigned to a place and a date. Before you can add data to the webapp, the corresponding place, training session (also called measurement group), and athlete must exist. Note that you only have to add the place once: when you come back to this place, or when to train the day after, use the already existing place.
Creating a training session, place, athlete can be done on the dashboard, by clicking on the white plus sign next to the corresponding box title.
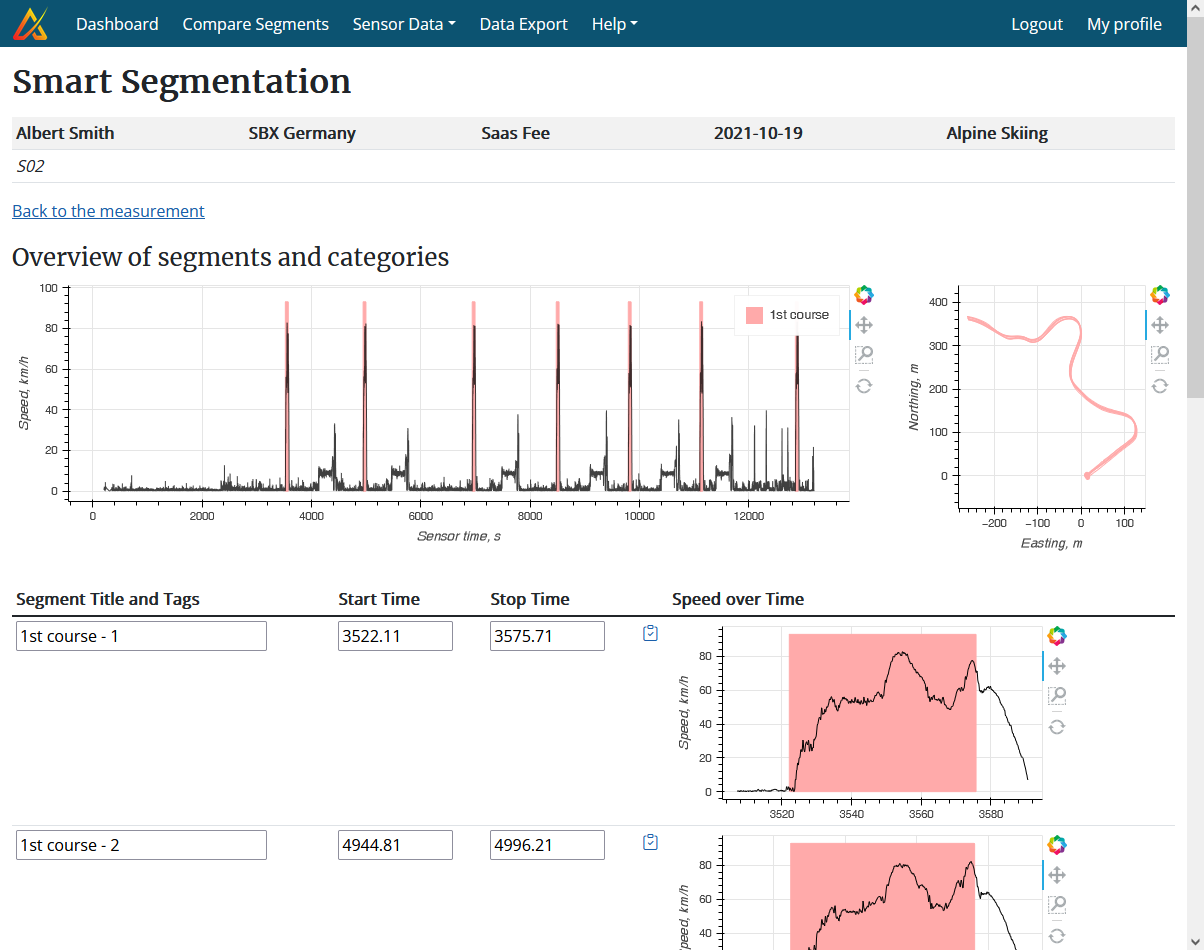
Smart segmentation
When data is added, you have to tell the system which part of the data is relevant you want to analyse in-depth. These parts are called segments. With this procedure you don't have to worry what you record and when you start the sensor. Warm-up, cool-down and other "irrelevant" parts will simply be ignored by the webapp. The smart segmentation is a process we have implemented which automatically detects all potentially relevant parts of the data. After adding data, a link for the smart segmentation will be displayed. When you click on it, the system analyses the entire measurement and creates a list of segments you might find relevant. You can then store each segment you want to use with a simple click on the "save icon" . Each sport has its own specific smart segmentation.
Add offline data
Don't forget to create first the place and athlete (if necessary) and the training session.Naos
- Go to the dashboard.
- Open the "add data" page by clicking on the blue plus sign next to the corresponding training session.
- Scroll to the very bottom of the page:
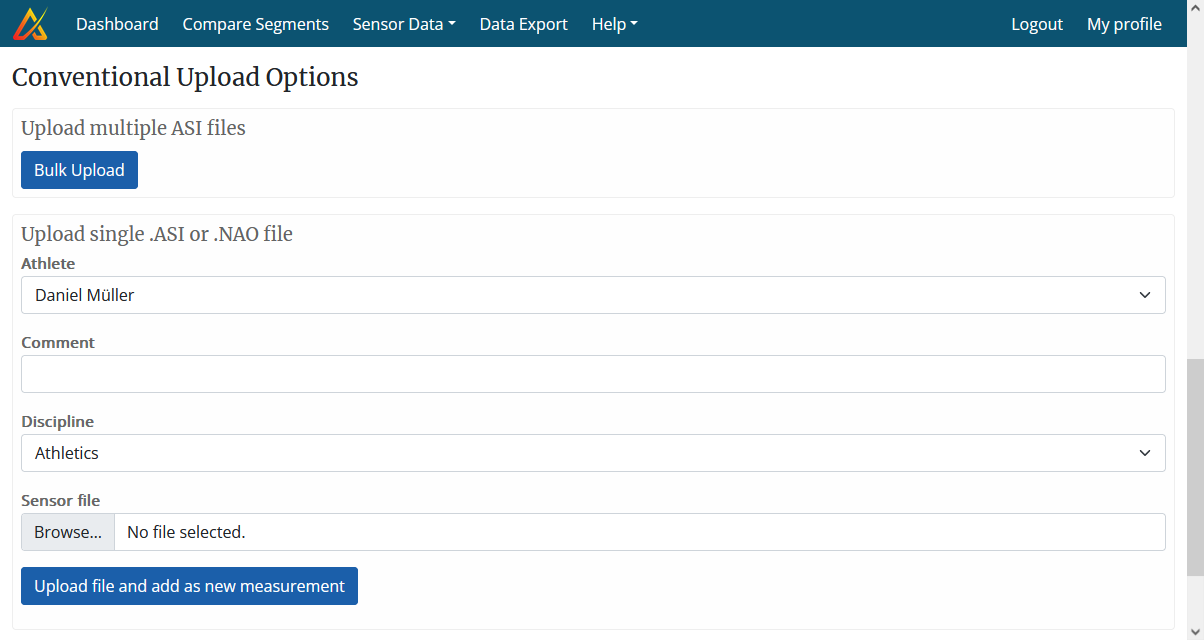
- Select the athlete, add a comment (optional), select the correct discipline. Select the corresponding .NAO file.
- Click on the button "Upload file and add as new measurement"
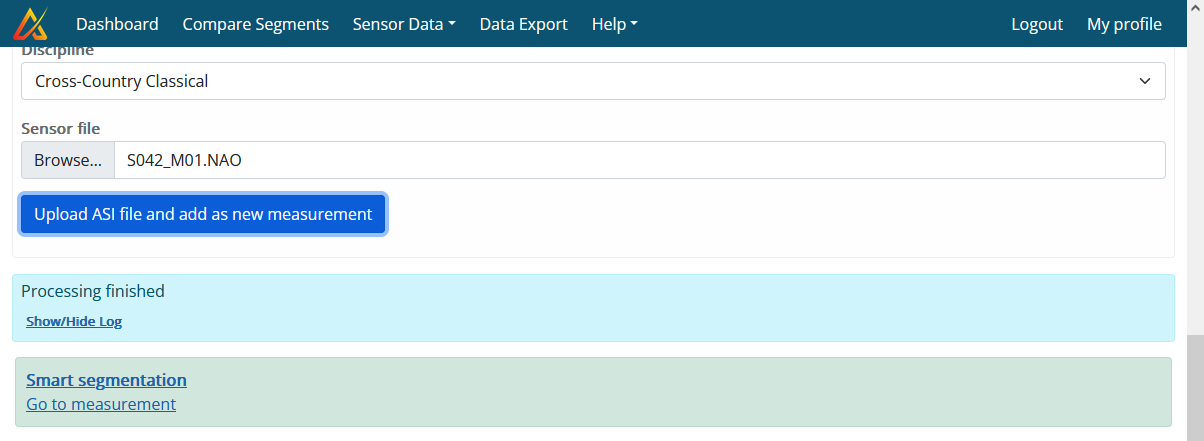
- Wait for the upload and processing to finish. This may take up to 1-2 minutes, depending on the size of the file.
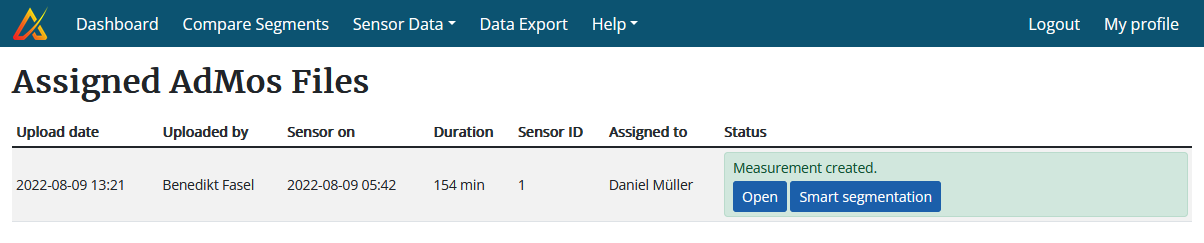
- When the processing is finished, a green box with a link to the "smart segmentation" will appear.
Click on it and wait for the smart segmentation to complete.
- Save the segments you want to keep for in-depth analysis.
AdMos
- Go to the dashboard.
-
Open the "add data" page by clicking on the blue plus sign next to the corresponding training
session. The "add data" page will look similar to the one shown below:
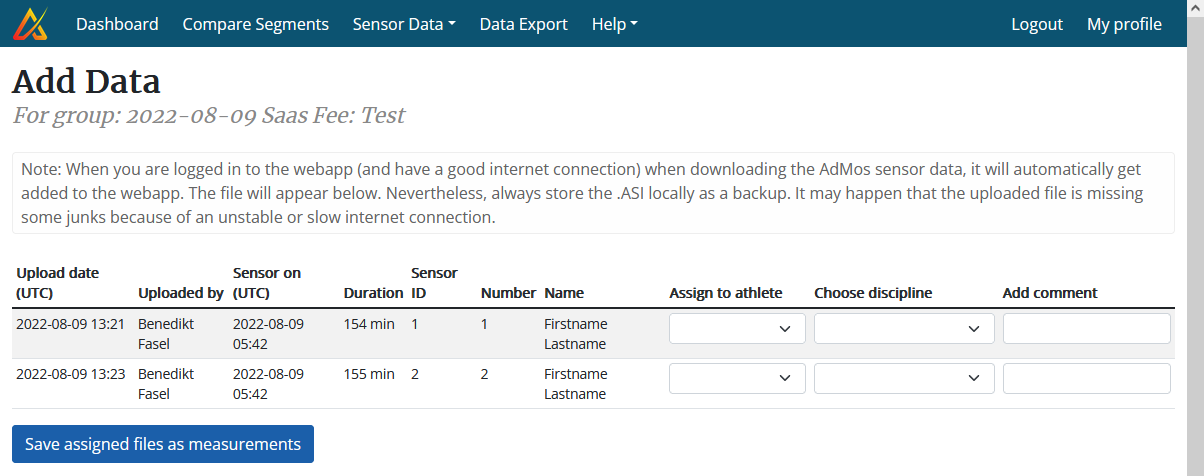
- If the file(s) appear in the table on the top of the page: for each file/sensor
- Assign to an athlete
- Choose the correct discipline/sport
- Add an optional comment/remark
- Click on the button "save assigned files as measurements".
-
A new page will open. Wait for the data import and preprocessing to be finished (will be marked with a light green
background, as shown below).
- For each measurement, right-click on the "smart segmentation" button and open the smart segmentation in a new tab or separate window.
- Save the segments you want to keep for in-depth analysis.
Add online / real-time data (Naos only)
Don't forget to create first the place and athlete (if necessary) and the training session.
This section is covering only the "post-training" analysis of the data collected and streamed in real-time. For the real-time feedback there will be a different help page (not available yet, as we are still actively developing and improving the real-time feedback, with almost weekly updates).
- Open the Naos recording overview page: "Sensor Data" "Realtime":
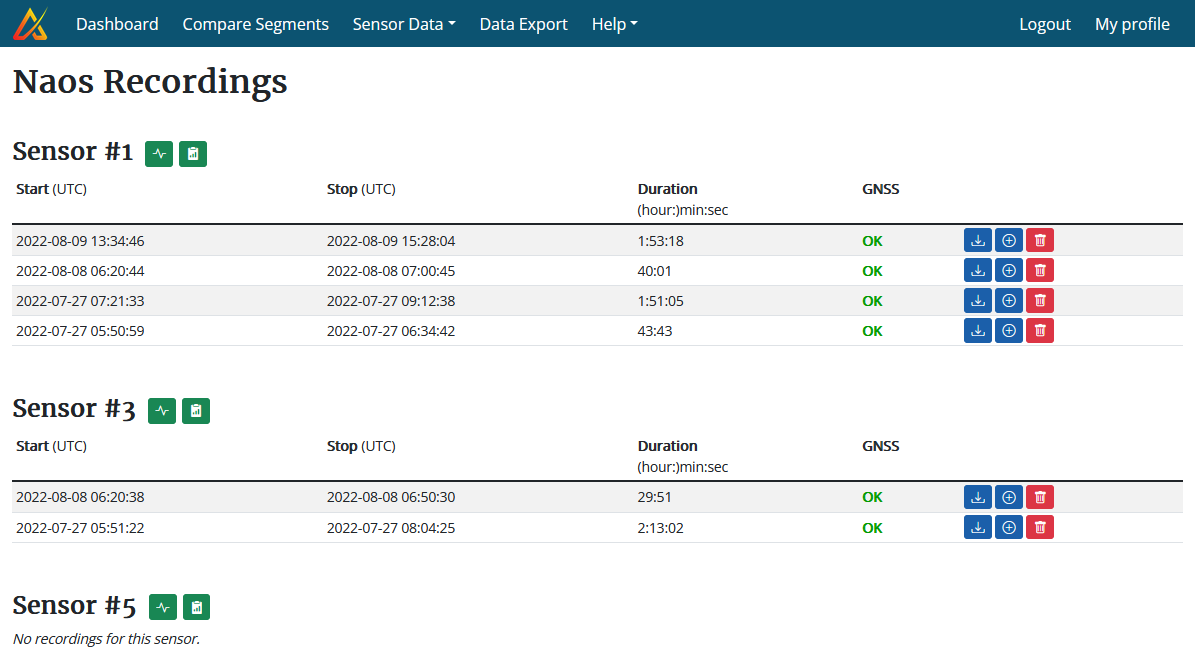
- For the recording you want to add, click on the blue button with the white plus sign. You can select a completed or an ongoing recording. For the ongoing recording, only the data up until now will be added to the measurement.
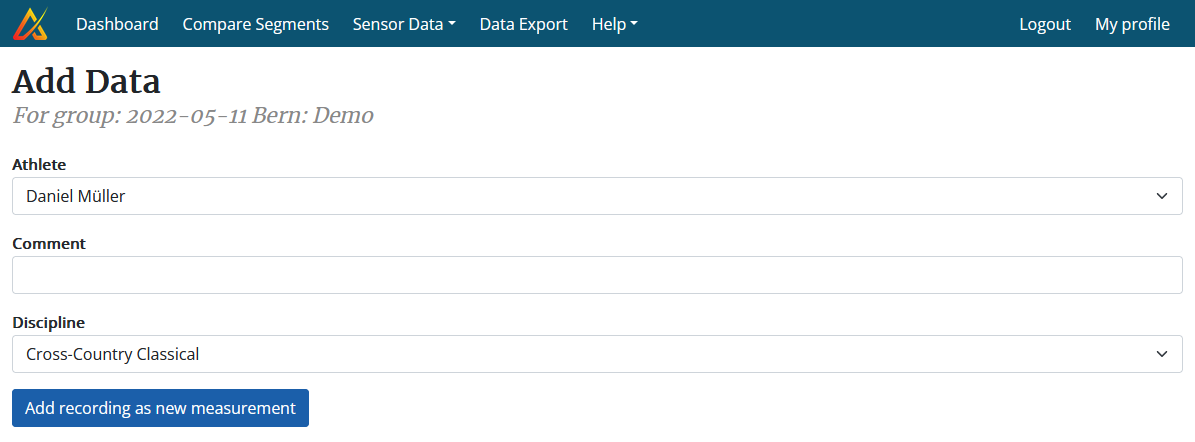
- Select the measurement group
- On the new page fill out the form, similar as for uploading of offline data. Start the data import by
clicking on the "dd recording as new measurement" button.
- Wait until the processing is finished. This may take a few minutes. There is a lot of data moved in the background between different servers.
- Once it is completed, the "smart segmentation" link will show up, as for the offline data upload. Click on it and wait for the smart segmentation to complete.
- Save the segments you want to keep for in-depth analysis.
Add videos
All videos recorded with the video sync unit plugged into your camera can automatically be synchronized with all sensor data. Remember, the two systems work completely independent: the sync unit never needs to be close to the athlete's sensors and can be switched on and off independently of them.
Regular Upload
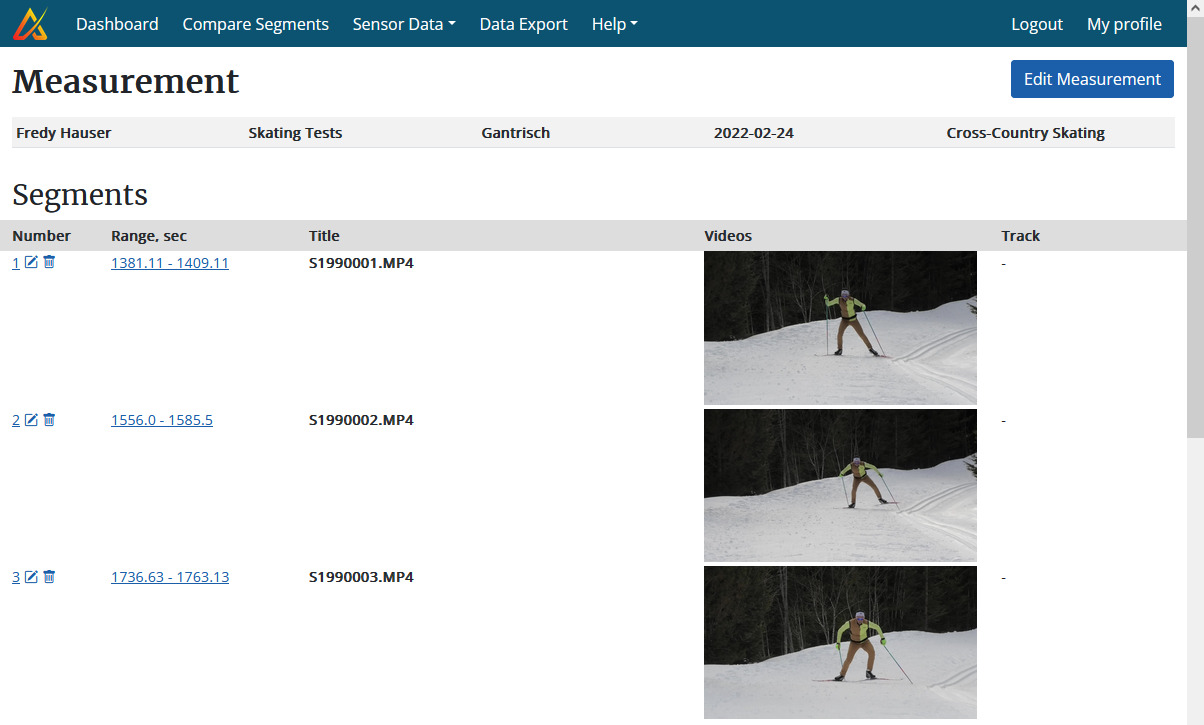
- Open the measurement for which you want to add the videos (on the dashboard click on the training session, then choose the athlete/measurement from the list which just opened).
- Scroll down to the very bottom and click on the tab "Multi-video Segmentation". A drag and drop
field will open below.
- Drag and drop the videos of this athlete in this field. Depending on the internet connection and length of each video we recommend to only add 2-3 videos at the time. Processing for one video may take up to one minute, as on other video platforms.
- When the videos turn green, upload has completed, and they are processing in the background.
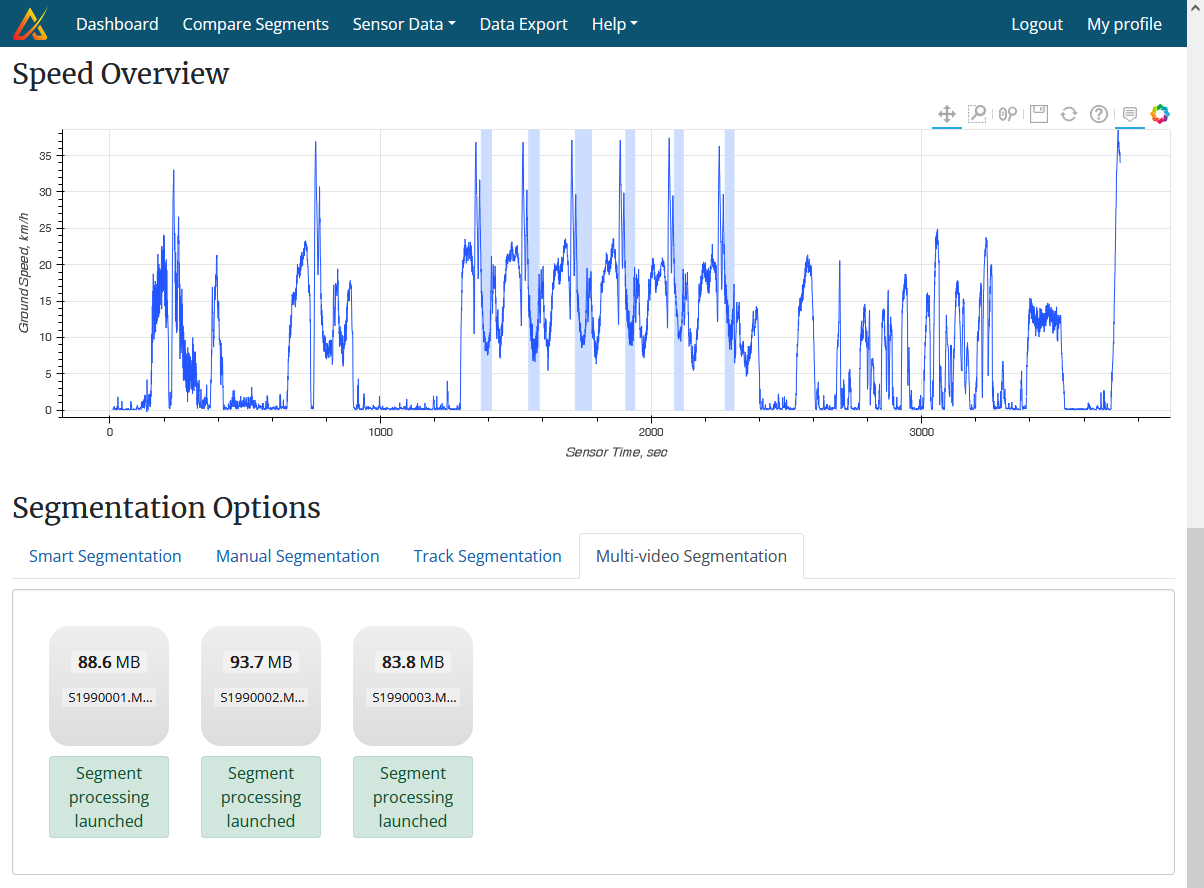
- You may reload the page now to check if their processing has completed successfully. If everything went well,
they will appear in the segment list above. They are now ready for analysis.
Special Upload for Alpine Skiing
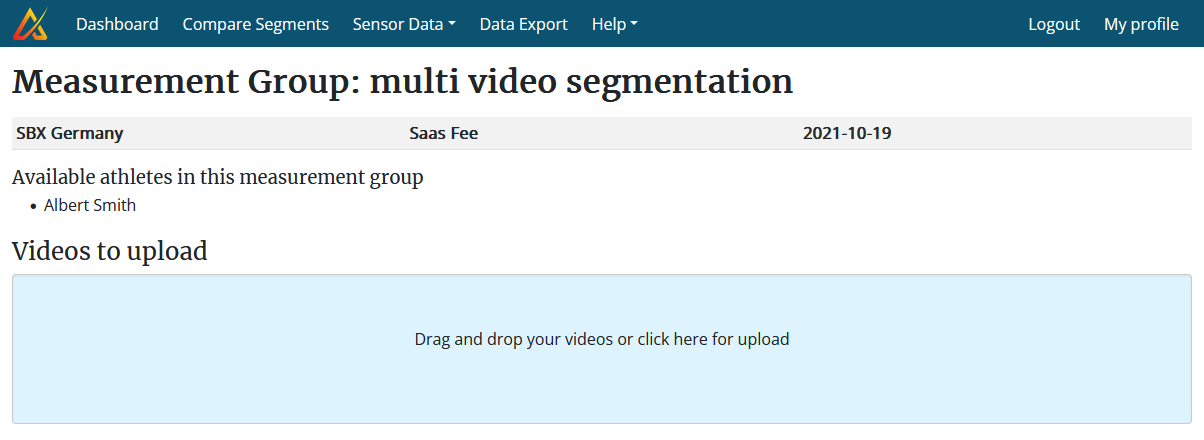
For alpine skiing only, and provided only one athlete is skiing down at the same time, our system is able to find out which video belongs to which athlete. Therefore, you can upload all videos at once, without the need of sorting them first manually by athlete.
In order for this to work, create first the training session and upload all the athlete data.
- Open the "add data" page by clicking on the blue plus sign next to the training session (on the dashboard). This is the same page were you can also add offline data to a training session.
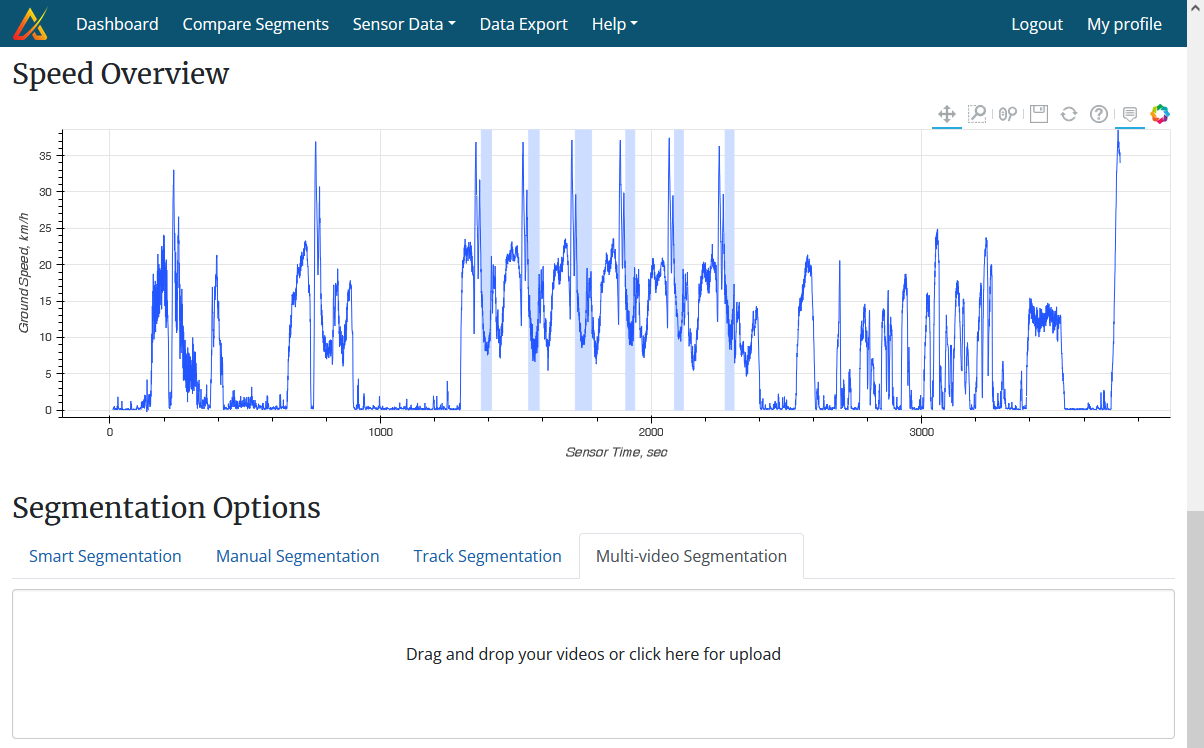
- Scroll down to the "Videos" section. Click on the blue "Multi-video Segmentation"
button.

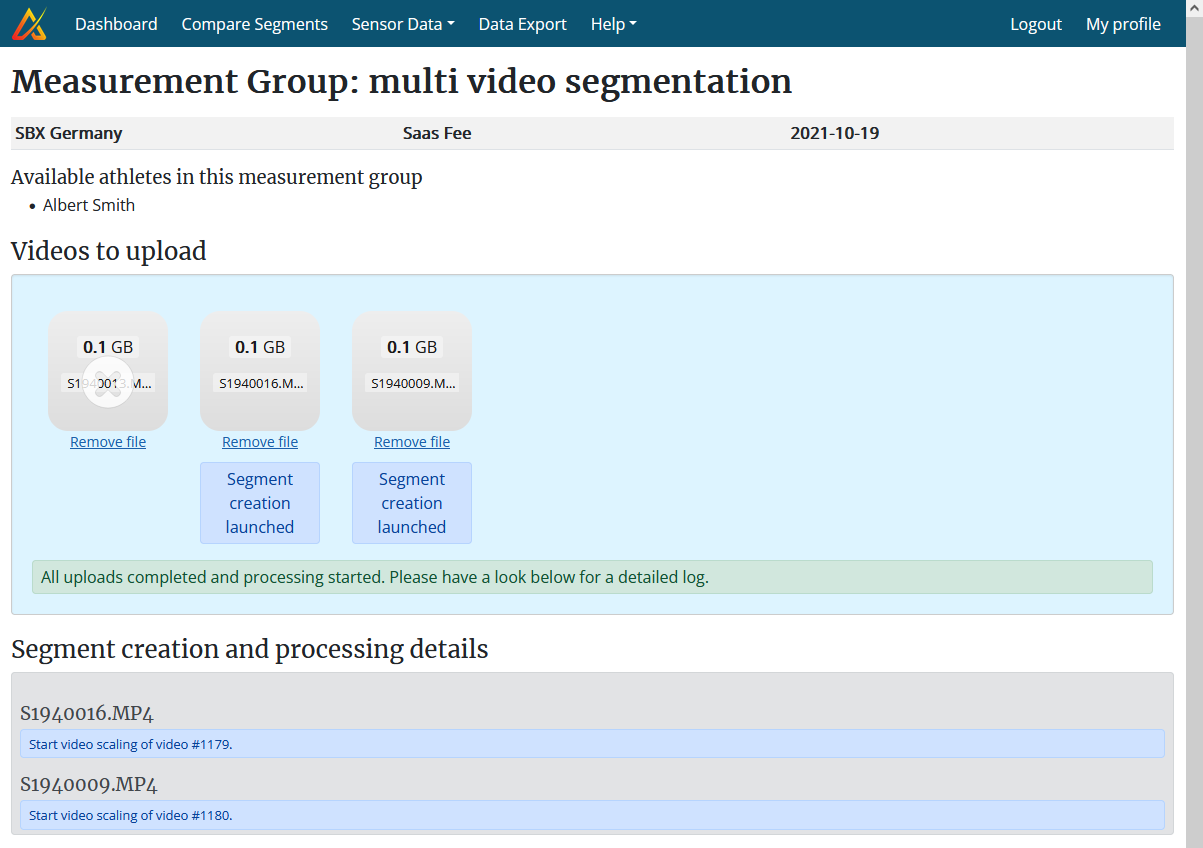
- Wait for the new page to open. This may take a few seconds. Drag and drop the videos into the light blue box.
Depending on the internet connection and length of each video we recommend to only add 2-3 videos at the time.
- Processing for one video may take up to one minute, as on other video platforms. Processing information will
be displayed on the bottom of the page. If no corresponding run has been found for a video it will not appear
in the list below and marked with a semi-transparent cross. This was the case for the first video shown on the
screenshot below.
- Do the video analysis once all processing is completed.